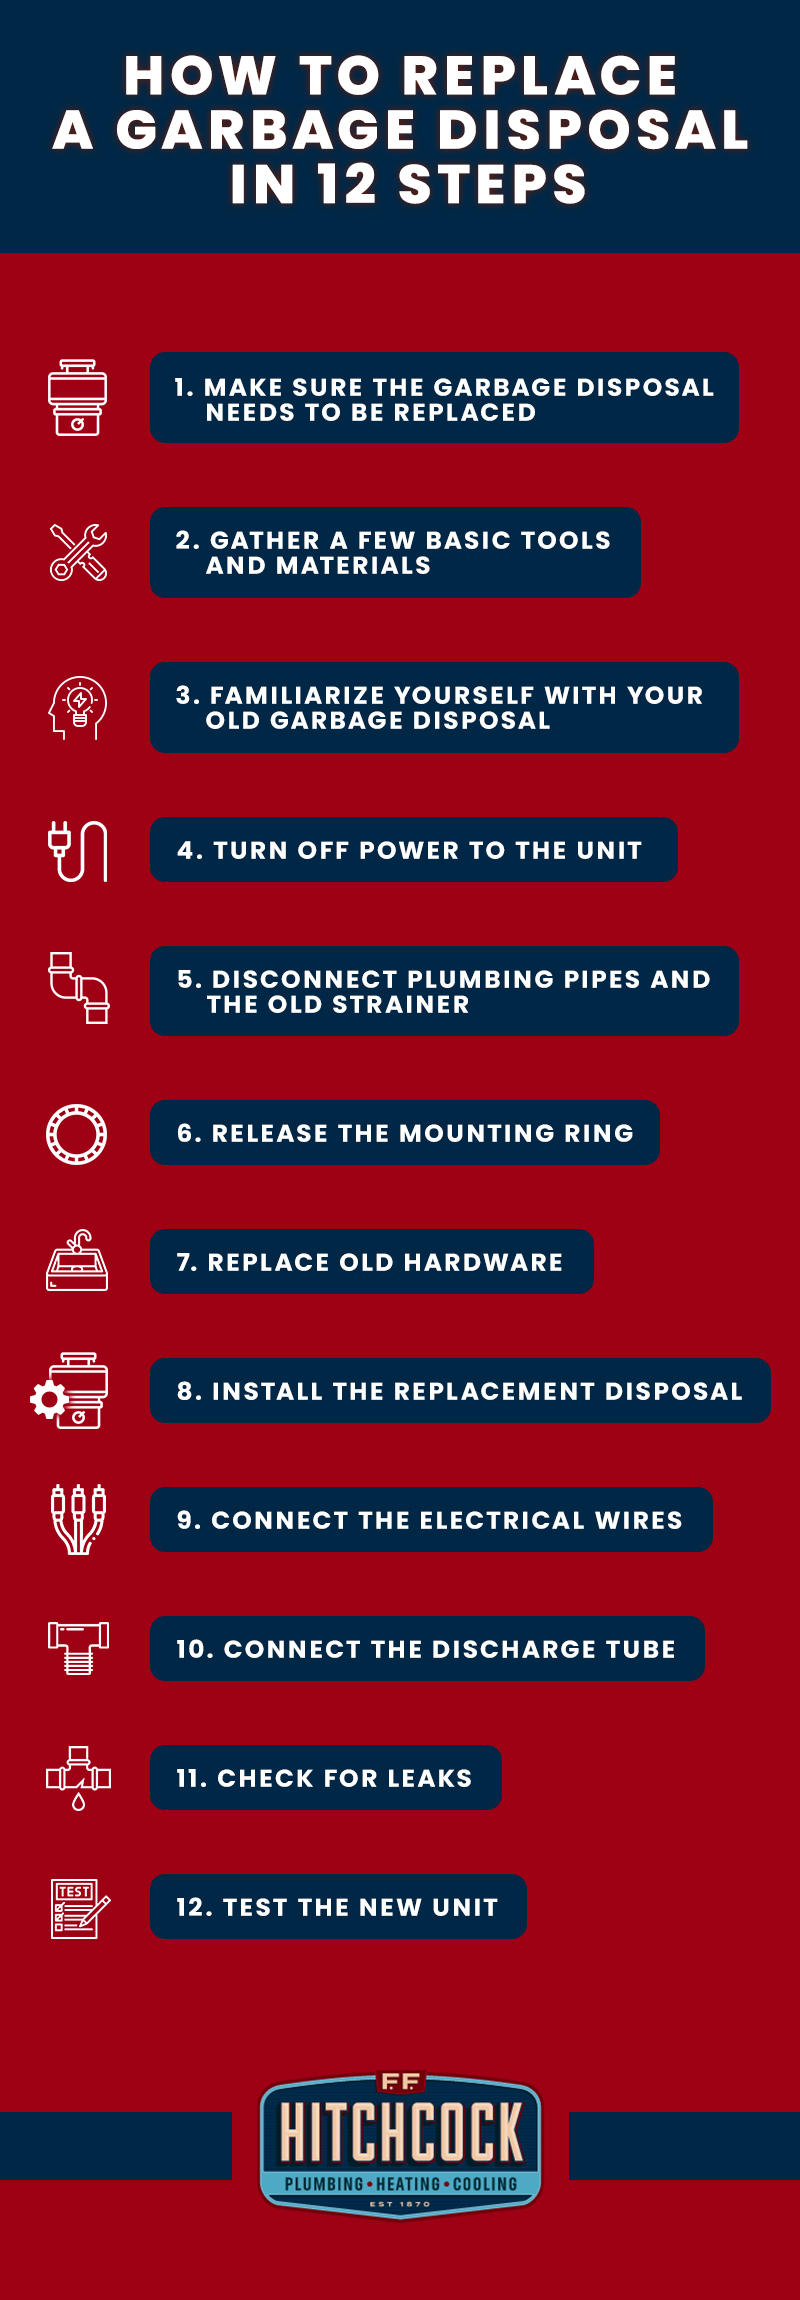
Nothing’s quite as frustrating as dealing with a clogged sink. When you turn on your garbage disposal only to realize that it’s not working, your stress can be quickly magnified. Luckily, replacing a garbage disposal isn’t a difficult project, as long as you follow a few steps. Use this guide to learn how to replace a garbage disposal in just 12 simple steps.
1. Make Sure the Garbage Disposal Needs to Be Replaced
Before attempting to replace your garbage disposal, making sure that it actually isn’t working properly can save you a lot of time and hassle. In most cases, a garbage disposal that hums or sounds like metal grinding on metal is a sure-fire sign that it’s time to replace it.
Keep in mind that a garbage disposal that isn’t working right could be revived with a simple fix. Here are a few things to try before running to the hardware store and purchasing a new unit.
First, with the electrical switch turned off, look inside the garbage disposal to see if anything could be jamming it. Use a flashlight to search for objects that may have gotten lodged, and grab them with a pair of tongs or needle-nose pliers.
Second, look underneath the garbage disposal and locate the hole directly in the center. Using a hex wrench or a standard Allen wrench, rotate the wrench back and forth to manually reset the motor. Once the motor turns a full revolution, try to switch on the motor.
Finally, locate the red reset button underneath the unit and press it. If the motor is hot, wait at least 5 minutes to reset it. If none of these methods work, it’s time to go ahead and replace the garbage disposal.
2. Gather a Few Basic Tools and Materials
Unlike other home improvement projects that may require an array of special tools, to replace a garbage disposal, you’ll mainly need tools you probably already have on hand.
Gather the following tools and materials to prepare for the project:
- Hammer
- Hacksaw
- Hex wrench
- Screwdriver
- Pliers
- Silicone
- Plumber’s putty
- A new garbage disposal
3. Familiarize Yourself with Your Old Garbage Disposal
Before removing the old garbage disposal, look at all of the parts first. It’s a good idea to take a picture of your existing garbage disposal so you can make sure you’re replacing each piece in the right order. Then, open the box with the new garbage disposal inside. Verify that it contains all of the pieces that are identical to the old unit. Figuring out how everything fits together before starting the replacement process will make the job a cinch.
4. Turn Off Power to the Unit
As with any home improvement project, keep safety in mind. Head to your main circuit breaker and turn off power to the unit. There may be a breaker dedicated to the garbage disposal, or you might have to shut off power to the entire kitchen. You’ll now be able to begin working without the risk of electric shock.
5. Disconnect Plumbing Pipes and the Old Strainer
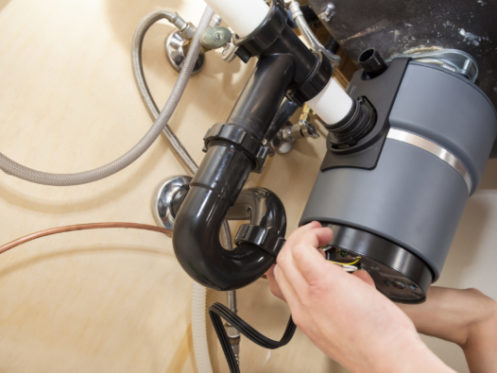
After turning off the circuit breaker to the kitchen, set a bucket under the P-trap and carefully disconnect your drainpipes. The discharge tube is the pipe that extends from the side of the disposal and extends to the ground plumbing. Remove the discharge pipe by loosening any screws or nuts with a screwdriver. Then, remove the old strainer to the garbage disposal.

6. Release the Mounting Ring
Locate the thin metal ring on the old garbage disposal. Grab ahold of the 3 metal lugs with one hand and twist the mounting ring counterclockwise to remove the old unit. Then, separate the disposal from the power supply by turning the unit over and locating the faceplate for the electrical housing. Unscrew the faceplate and use a pair of needle-nose pliers to disconnect the colored wires. Finally, remove the rubber snap ring on the bottom of the mounting ring.
7. Replace Old Hardware
Remove the sink flange by wiggling or pushing underneath the flange and lifting it out from the top. Apply plumber’s putty to the new flange and install it in the sink.
Apply plumber’s putty to the underside of the new sink flange. Press on the slender end of the flange against the drain opening and press the flange in place. Hold the new flange in place for at least 30 seconds so the putty can adhere properly.
Since you don’t want the new flange to shift while you’re installing the new garbage disposal, ask a helper to firmly press down on it while you’re working. If you don’t have a helper, find something heavy to weigh it down. You can even use the old garbage disposal to put weight on the flange.
Next, connect the new mounting assembly. Slide the rubber gasket over the new flange, then add the additional metal flange. Hold the mounting assembly in place as you tighten the screws. Make sure the assembly is secure by jiggling it from the bottom.
8. Install the Replacement Disposal
Lift the new disposal into place by aligning it with the mounting ring. Thread the unit into the grooves of the mounting ring by twisting it. Rotate the unit clockwise until it locks in place.
9. Connect the Electrical Wires
Remove the electrical faceplate from the underside of the new garbage disposal with a screwdriver. Coordinate the colored wires with the electrical housing and the power supply, then connect the wires with electrical nuts. Replace the electrical faceplate.
10. Connect the Discharge Tube
Connect the end of the discharge tube with the opening on the side of the disposal. Verify that the discharge tube sits flush over the opening and tighten nuts or fasteners with a screwdriver. If the discharge tube is too long to connect to the plumbing valve, use a hacksaw to cut it to the right length.
11. Check for Leaks
Turn on the faucet and let water run through the disposal for at least 30 seconds to check for leaks. Look for connection points around the new unit to verify that water isn’t seeping out anywhere. As long as all components are tightened well, you shouldn’t run into any unexpected problems.
12. Test the New Unit
Turn the circuit breaker to the kitchen back on to test the new garbage disposal. Flip the switch to the new unit and listen to the way it sounds. Your new unit should be running smoothly with no humming or grinding.
What to Do if the New Garbage Disposal Isn’t Working
If the new garbage disposal is making an unusual sound or not working at all, don’t panic! Call a professional plumber to take a closer look. Even if you installed the new unit correctly, there could be a problem with the inner mechanics of the disposal itself.
Schedule Plumbing Service Today
If you’re dealing with a plumbing issue in Cheshire or a surrounding area, don’t hesitate to contact the experts at F.F. Hitchcock Plumbing, Heating & Cooling today. Dedicated to fantastic customer service, our plumbers are friendly, prompt, and knowledgeable. In addition to providing plumbing services, we also specialize in premier air conditioning services, heating services, and fuel services.

Frequently Asked Questions


